


News from Coop Bénimellal-KHénifra
FREE Carrot Illustrator Effect to Add to Fonts and Images – Scrap Booking

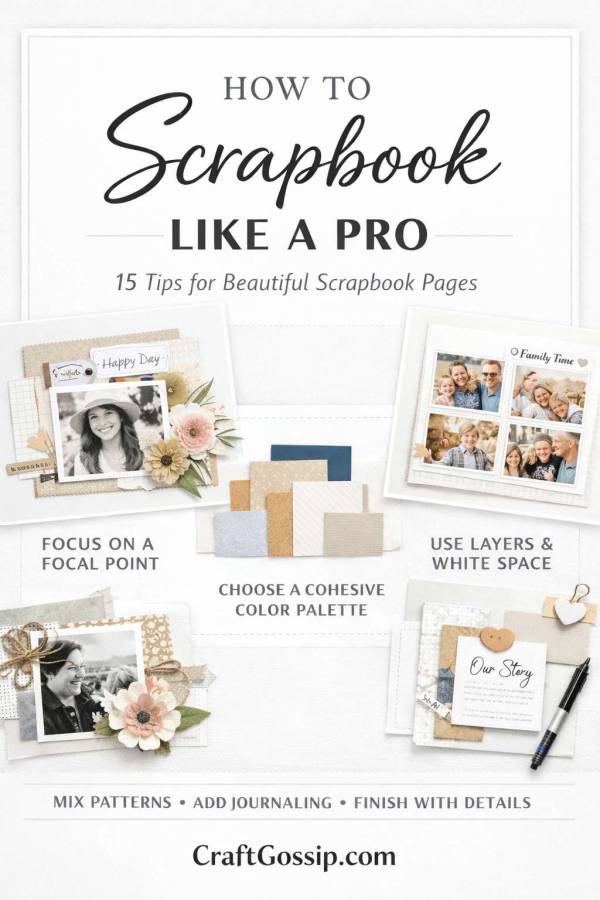
Let’s be honest — when you search how to scrapbook like a pro, most advice sounds like you need a design degree, a $500 craft haul, and a weekend retreat with uninterrupted silence.
Meanwhile, I’m over here with laundry buzzing, teenagers raiding the fridge, and Aloo deciding the perfect place to nap is directly under my craft chair.
But here’s the truth: professional scrapbook layouts aren’t about perfection. They’re about balance, intention, and confidence.
If you’ve ever wondered how to make scrapbook pages look professional without overthinking it, these practical scrapbooking tips will completely change how you design your layouts.
1. Start With a Strong Focal Point
Every professional scrapbook layout has one clear star of the show.
That could be:
- A large feature photo
- A bold scrapbook title
- A layered embellishment cluster
When learning how to design a scrapbook page, this is the most important rule.
Choose your focal point first — then build around it.
Pro tip: Slightly enlarge your main photo and mat it with contrasting cardstock. Instant polish.
2. Use the Rule of Three in Scrapbooking Layouts
Designers rely on odd numbers because they look natural and balanced.
Group embellishments in threes:
- Three small florals
- Three enamel dots
- Three tags layered together
If your scrapbook page feels awkward, try adjusting your embellishments into groups of three. It’s one of the easiest ways to create professional scrapbook pages.
3. Choose a Color Palette Before You Begin
One of the biggest scrapbooking mistakes? Grabbing random papers and hoping they magically work together.
Instead, build a simple color story:
- 1 dominant color
- 1 supporting color
- 1 neutral
If your photo includes soft blues and warm browns, lean into those tones.
Choosing a clear scrapbook color palette instantly makes your layout feel cohesive and thoughtfully designed.
4. Add Layers for Dimension
If your scrapbook pages look flat, they’ll feel unfinished.
Layering creates depth and makes layouts look more professional.
Try layering:
- Patterned paper behind photos
- A torn paper edge
- A tag tucked under a frame
- Foam tape for subtle lift
You don’t need bulky embellishments. Even slight dimension makes a huge difference.
5. Embrace White Space in Scrapbooking
White space isn’t empty — it’s intentional.
One of the biggest differences between beginner and professional scrapbook layouts is breathing room.
Leaving space:
- Draws attention to your focal point
- Keeps pages modern
- Prevents visual overwhelm
If your page feels busy, remove one embellishment cluster and step back. Nine times out of ten, it improves immediately.
6. Tell the Story (Even Briefly)
Scrapbooking like a pro isn’t just about pretty paper.
It’s about storytelling.
Add:
- A short journaling block
- A handwritten memory
- A date and location
Even one meaningful sentence transforms a scrapbook page from decorative to personal.
And honestly? Years from now, that little note will matter more than the embellishments.
7. Use Repetition for Cohesive Design
Professional scrapbookers repeat design elements to create flow.
Repeat:
- The same color in three spots
- The same shape in different sizes
- The same pattern subtly throughout
Repetition makes your scrapbook layout feel intentional instead of random.
8. Don’t Overcrowd the Page
More embellishments do not equal a better layout.
If you want to make scrapbook pages look professional, restraint is key.
Before gluing anything permanently:
- Arrange your layout
- Take a photo
- Remove one item
If it looks better? You didn’t need it.
I call this the “teen bedroom rule.” Just because it fits doesn’t mean it belongs.
9. Invest in Quality Scrapbooking Tools
You don’t need a full craft room makeover, but a few essentials make a noticeable difference:
- Sharp paper trimmer
- Strong, clean adhesive
- Foam squares
- Neutral cardstock stash
Clean edges and secure layers instantly elevate your scrapbook design.
10. Use Grid-Based Scrapbook Layout Ideas
If you struggle with balance, try using a simple grid.
Grid-based scrapbook layout ideas include:
- Three vertical photos
- A centered photo with symmetrical embellishments
- A diagonal flow from corner to corner
Grids provide structure while still allowing creativity.
11. Mix Patterns the Smart Way
Mixing scrapbook paper patterns can feel intimidating.
The trick:
- One bold pattern
- One subtle pattern
- One small-scale print
Balancing loud and quiet prints keeps your scrapbook page from overwhelming your photos.
12. Add Finishing Details That Elevate Your Page
Tiny details separate casual layouts from professional scrapbook designs.
Consider:
- Inking paper edges
- Faux stitching
- Rounded photo corners
- Light paint splatters
These subtle touches create a finished, polished look.
13. Develop Your Personal Scrapbooking Style
Scrapbooking trends come and go, but your style will last.
Ask yourself:
- Do I prefer clean and minimal scrapbook layouts?
- Vintage layered pages?
- Bright and playful designs?
When you stop copying trends and start designing intentionally, your pages feel more authentic — and yes, more professional.
Common Scrapbooking Mistakes to Avoid
If you’re serious about improving your scrapbook layouts, avoid these:
- No clear focal point
- Too many fonts
- Random color combinations
- Filling every inch of space
- Skipping journaling
Fix just one of these and your layout will improve instantly.
The Real Secret to Scrapbooking Like a Pro
It isn’t expensive supplies.
It isn’t complicated tools.
It isn’t copying someone else’s layout exactly.
It’s making confident design choices and sticking with them.
When you:
- Choose your colors intentionally
- Focus on one main element
- Layer thoughtfully
- Leave breathing room
- Tell your story
You’re already scrapbooking like a pro.
And the best part? You’ll still finish before dinner.
Now I’d love to know — are you a maximalist scrapbooker with layered clusters everywhere, or are you leaning into white space these days?
I’m firmly in my “calmer pages, calmer brain” era… but I still keep a stash of embellishments nearby just in case.
